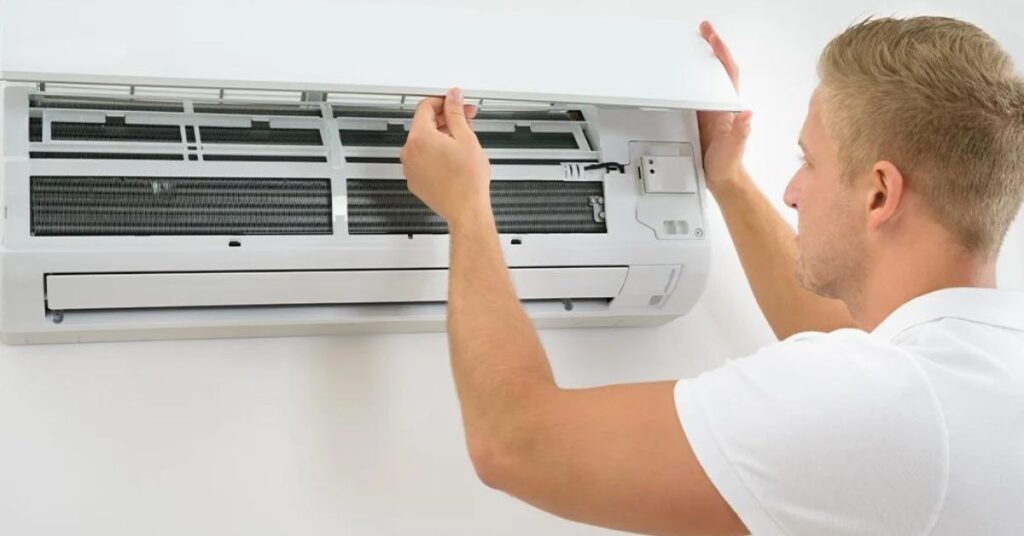
When choosing a new AC, installation time varies with the AC type, your home’s layout, and the installer’s expertise. Knowing this helps you plan for a cooler home sooner. This guide, with insights from air conditioner installation by Beltway Air Conditioning & Heating, explains the installation timeline for a new air conditioning system.
Understanding Conditioner Installation
Choosing Your System
Choosing the right air conditioning system is important. Split systems are efficient and easy to maintain, but if you have limited space, packaged A/C units could be a better choice. The size of your home and how high your ceilings are determine the size of the cooling unit you need. Looking into payment plans can help make replacing your air conditioner and furnace more budget-friendly.
Pre-Installation Steps
Before installation begins, scheduling a walkthrough with a trained technician is important. They evaluate your home’s needs and decide the best spot for your new A/C unit to make installation easy and ensure it runs efficiently. Before installation, you should clear pathways and keep pets away to help things go smoothly.
Ductwork Considerations
The compatibility of your home’s existing ductwork with the new A/C system must be evaluated. If modifications are necessary, this could affect airflow, efficiency, and overall comfort. Homeowners should be prepared for potential additional costs and time required for ductwork repairs or replacements to accommodate the new system.
Refrigerant and Electrical Work
Making sure the new A/C system has the right refrigerant and enough of it is key for it to work properly. It might also need better electrical wiring and circuits to handle its needs. When replacing old refrigerant, it’s crucial to safely dispose of it following environmental laws.
Key Factors Influencing Installation Time
Type of AC System
Split and packaged A/C systems each have their perks. Split systems are efficient and quiet, fitting homes with outdoor space. Packaged systems, which house all parts in one, are great for homes lacking outside space.
The choice between them hinges on where they’ll be installed and how much space is available. Split systems may take more time to install because of their two-part design, while packaged units are easier and quicker to set up due to their compactness.
Size and Location
Choosing the right size A/C unit is important for efficient cooling. It must fit the size and layout of your home. If the size isn’t right, it won’t work well and will increase your energy costs.
The place where it’s installed also affects its performance and installation difficulty. Putting units in difficult spots means longer installation times. Think about how easy it will be to maintain in the future to avoid extra trouble later on.
New vs Replacement
Replacing an A/C unit often takes less time than installing a new one since the ductwork and electrical setups are already there. When adding a new unit, it must work well with the current system. However, if everything, including ducts and thermostat wiring, needs replacing, it can really lengthen the time it takes to install.
The Installation Process
Initial Assessments
The installation time starts with a quick walkthrough to find any issues and decide the best place for the new A/C unit. Technicians will also ask homeowners about their cooling preferences to pick the right system.
Reviewing local codes and permits is another essential step. It ensures that the installation meets legal requirements. This phase sets the stage for a smooth installation process.
Ductwork Modifications
Technicians might have to fix or change the house’s ductwork to fit the new A/C system, especially if there are leaks or problems. This step is crucial to match the installation schedule and keep disruptions minimal.
Connection Work
Installing the new A/C unit requires technicians to connect it to the electrical system and ductwork, ensuring they follow safety and building codes. Homeowners choosing smart thermostats or advanced control systems will also have these set up during this process.
Cleanup and Inspection
After installation, a thorough cleanup leaves the home as it was before, if not better. A detailed inspection follows. It checks that everything works as it should. Technicians go through a checklist with homeowners. They cover how to operate and maintain the new system.
After Installation
Final Checks
After the installation team finishes, it’s important to perform final checks to ensure the A/C works properly and meets all regulations and the manufacturer’s instructions. This step is essential for safety and efficiency.
Homeowners also get trained on how to use their new A/C during this phase. The team teaches them the basics and how to troubleshoot common issues, helping them avoid future problems.
Warranty and Protection Tips
Next, let’s talk about warranties. Register your A/C unit to possibly extend its warranty, which is required for coverage details and avoiding voids. Experts advise joining a maintenance plan for smooth operation and preserving your warranty.
Also, using surge protectors can prevent electrical damage, and weatherproofing outdoor units protects against extreme weather.
Installing a new AC unit can take from several hours to a full day, depending on the unit type, prep work, and installation complexity. It’s important to know these factors for a smooth process and to set realistic timelines. Proper maintenance after installation is key for the AC’s best performance and longer life.
Getting help from certified technicians is advised for a custom fit and advice, ensuring your space is comfortable and efficient. Consider scheduling a consultation to improve your climate control setup.


